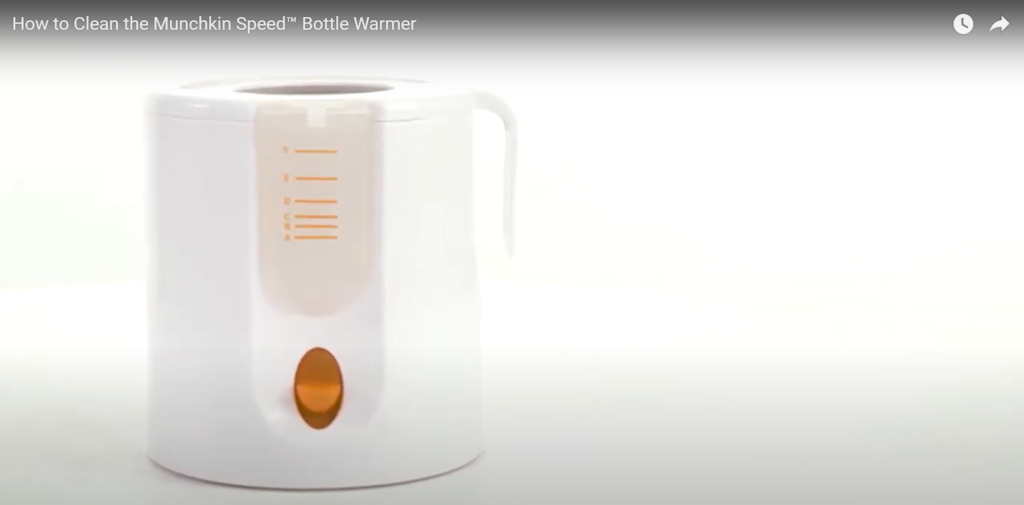
How To Clean A Baby Bottle Warmer?

As first-time parents and users of a baby bottle warmer, you must regularly clean it. This is the one way to maintain baby tools like this. The time might come that you’ll need to use it again for another baby in the family.
As you always use the baby bottle warmer, sometimes you avoid milk build-up out of the warmer. Don’t worry because it’s easy to get rid of. There are common kitchen items you can use in cleaning the bottle warmer.
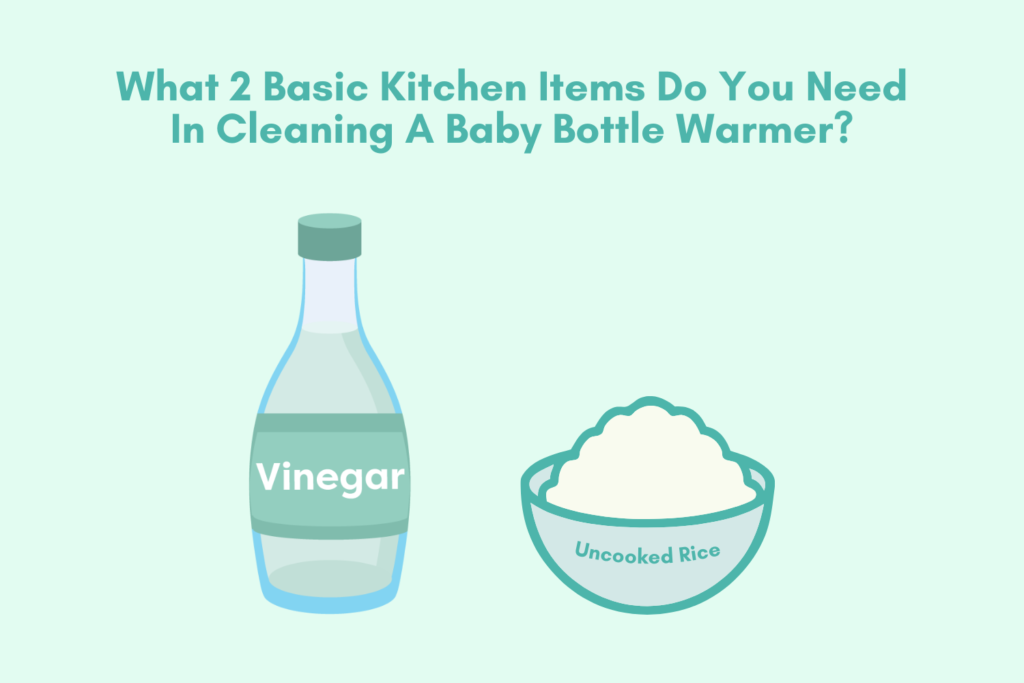
Two best items for cleaning the bottle warmer that is found in the kitchen
Using Kitchen Items
The most practical way of cleaning a baby bottle warmer is using rice or vinegar. If a bottle warmer has a reservoir, you can use the rice. The grains are small enough to fit through the opening.
Put rice grains with water inside the bottle warmer. Then, shake it gently. The rice will act as abrasive walls of the reservoir.
You can replace rice grain and water with vinegar. Just do the same process. This cleans the reservoir of the bottle warmer. Thus, it goes down to the internal chambers of the machine where milk residue hides.
Cleaning your baby bottle warmer can be done every 4 weeks. You know it’s time to clean it when there is this sour smell.

Guide In Cleaning A Baby Bottle Warmer
In case you’re wondering how often should you clean your bottle warmer, it’s really up to you. Here is more information you need to know about cleaning a baby bottle warmer.
Regular Cleaning – Check these regular steps in cleaning your warmer. It’s applicable to any regular bottle warmers.
1. Always remember to disconnect the food warmer before you proceed with cleaning. Wait for about 30 minutes and let it cool.
2. Check the side of the bottle warmer to find the water reservoir. Pull it up and pour away any remaining water.
3. Fill the reservoir with water and soap. Keep it aside. Soak for 5 minutes or more.
4. Place the bottle warmer on the sink. Open the cover and remove water from the heating chamber.
5. Clean the basket with soap and water too. Rinse it off. You may place it on top of the top rack of your dishwasher later.
6. Pour a few drops of dishwasher liquid into the basket. Use any soft cloth or sponge and soak with warm water.
7. Get rid of excess water. Rinse both sides (inside and outside) of the bottle warmer.
8. Back with the reservoir, and remove the soaked water. Put a tablespoon of uncooked rice and 2 teaspoons of water.
9. Cover the filling point of the reservoir using your thumb. Then, shake the bottle for 15-30 seconds.
10. If you’re done shaking, pour out the uncooked rice and water from the reservoir. Fill it half with water to rinse.
11. Air-dry the removable parts by putting them on a dry towel. Then, reassemble them again for future use.
De-scaling – After cleaning the whole baby bottle warmer, you need to de-scale it in four weeks. This is to ensure that it continues to function in the coming days.
Since baby bottle warmers are for regular use, you need to maintain them properly. Minerals will build up its surfaces. That’s why you need to get rid of them from time to time.
It’s suggested to de-scale them every four weeks or monthly. Still, it’s up to you. Here’s how you de-scale your baby bottle warmer.
1. The same with cleaning, you must unplug the bottle warmer from the socket. Make sure it’s cooled down before completely de-scaling.
2. Remove water from both the water reservoir and heat chamber.
3. Pour 50-60 ml vinegar into the reservoir. Add 100-120 ml water.
4. Shake the reservoir gently to mix both vinegar and water.
5. Plug in the warmer and let it run its normal heating cycle. Run the device until it becomes empty.
6. Once empty, unplug the warmer. Then, rinse off the reservoir using clean water multiple times. This is to make sure the solution is completely gone.
7. Lastly, fill the reservoir with water. Check if there are air bubbles coming from the bottom. If you see air bubbles popping, you have properly descaled your baby bottle warmer.

Precautions
To avoid any risks of electric shocks in machines like baby bottle warmers, you have to unplug. There are parts of the warmer such as removable baskets that you can soak with water. However, you should not submerge the whole warmer into the water.
Machines like this are delicate so you are required to use mild cleaners like soft cloth or sponges. Avoid using harsh detergents, scouring pads, or any other abrasive cleaners. It’ll ruin the surface of your warmer.
Clean it properly and gently. Do not disassemble while cleaning. Remove only the accessories so they will still work properly after cleaning.

Basic Cleaning Steps
These are what we consider a cleaning protocol for your baby bottle warmer. If it’s your first time using it, you’re just on the right page for very useful tips.
Things Needed: Rice, Distilled White Vinegar, and Dishwashing Soap (optional)
1. Cool the baby bottle warmer before cleaning it. Make sure it’s unplugged because you’ll deal with the water inside of it. Shake out all the water. Cooling it at first prevents you from burning yourself.
2. Once all the water is removed from the bottle warmer, check on the reservoir. Make sure there’s no more water. If there’s a basket from the inside, take it out too. Then, take the bottle warmer over to the sink to get out any water.
3. Mix the soap with water. Clean the reservoir with soap, water, and vinegar. Put dishwashing soap or vinegar in the reservoir. Fill it halfway with warm water. Cover the opening and shake it gently. In case there is more residue, let it sit for a couple of minutes filled with soapy water.
4. Pour some rice into the reservoir. This can be tedious in the cleaning process. Don’t worry about flushing the rice out of the reservoir. You can easily rinse it with water. Don’t put a lot. Just put some grains every now and then by hand.
The rice will scrub the walls naturally. You have to use rice because you can’t clean the reservoir with a sponge or a brush. Moving on, you may add some water into the reservoir. Cover the holes and shake them again.
5. Rinse out the reservoir. Make sure there’s no rice or soap residue left. Fill it with water and shake gently for a couple of seconds. Then, pour the water out. You have to repeat it 2 to 3 times to completely discard the rice.
6. Use a bar of soap and water to wash the plastic basket components of your bottle warmer if you have one. It’s placed inside to hold the bottle. This plastic basket is removable so you can return it once you finished washing the components.
In case there are milk residues inside, soak it in hot soapy water.
7. Wipe the inside part of the bottle warmer and lid with a vinegar-soaked rag. You can scrub the build-up formed by the milk.
Another option is to fill the reservoir with ¾ distilled water and vinegar. Run the vinegar through the machine like you’re warming the baby bottle. Then, put back the reservoir tank into the bottle warmer.
Run this in about 4-5 cycles. Each takes five 5-minute long cycles to use up the vinegar. It’s pretty cost-saving! If you’re done with this, your bottle warmer is ready to be used again.
8. Repeat these cleaning processes once a month. If you notice the sour smell of the milk, it’s your indication that you have to clean the bottle warmer again.
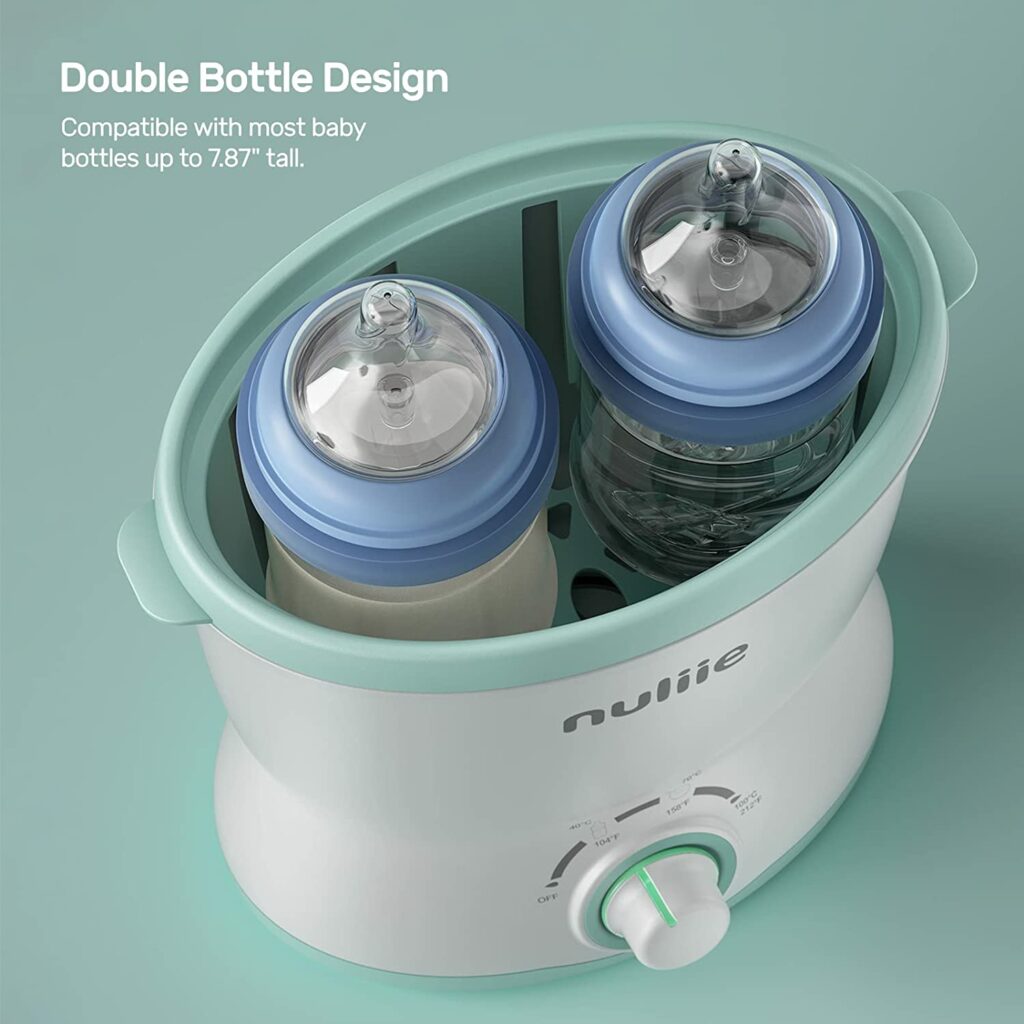
Nuliie Baby Bottle Warmer
This 5-in-1 Multifunction baby bottle warmer is as easy to clean as other baby bottle warmers. It has 5 functions defrosting, fast milk warming, normal milk warming, baby food warming, and bottle steam sterilizing.
It is composed of the main cover, food tray, bottle basket, and base. It has 3 modes: Mode 1: 104°F (40°C), Mode 2: 158°F (70°C), and Mode 3: 212°F (100°C).
The first mode is used for defrosting and warming milk. The second mode is used for food warming. The third mode is for fast bottle warming and bottle steam sterilizing.4

Takeaway
It’s safe to know how to maintain your baby’s feeding tools and equipment. It saves effort, money, and time. It also saves you from any distractions knowing you’ve done your part in keeping the tools clean and safe.
Follow the guide and steps given in this article on how to properly clean a baby bottle warmer. Surely, you will enjoy cleaning the whole machine all the way. They are just quick and easy steps to work with.
Keeping it clean will prolong its life. Your baby will enjoy his or her feeding time because it’s free from any harmful bacteria. You can pass the baby bottle warmer on to the next owners soon.
How To Clean Bottle Warmer